
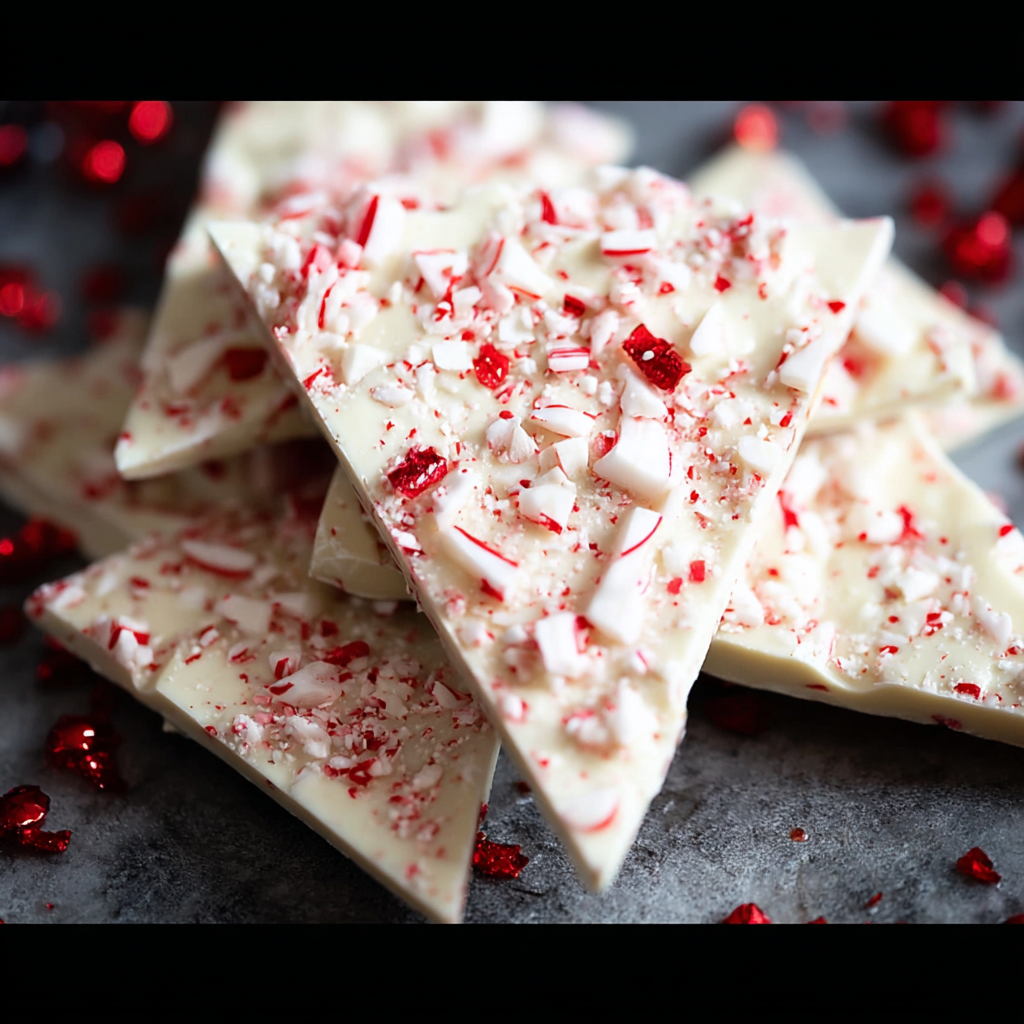
Salted Peppermint Bark

A simple, festive layered treat: rich chocolate topped with creamy white chocolate, spiked with peppermint and finished with sea salt for perfect balance.

Why You'll Love This Recipe
- Quick to assemble: ready in about 30 minutes start to finish, making it ideal for last-minute gifts or a fast holiday treat.
- Minimal equipment: you only need a baking sheet, parchment, a microwave-safe bowl or double boiler, and a spatula.
- Uses pantry staples: candy melts or chocolate chips and a bag of white coating make this an accessible recipe year-round.
- Make-ahead friendly: holds well in airtight containers and freezes beautifully for up to 3 months.
- Customizable: swap in dark or milk chocolate, add nuts, or use flavoured candies to suit dietary needs and tastes.
- Crowd-pleasing: the mix of chocolate, peppermint, and flaky sea salt delivers a balanced sweet-salty finish that almost everyone loves.
When I first brought a batch to my book club, I watched people reach for seconds without hesitation. My neighbor asked for a wrapped portion to take to her office, and by the following day she reported back that it had been the most requested homemade good of the season. For me, the ritual of melting, layering, and sprinkling is nearly as joyful as the eating.
Ingredients
- Light cocoa candy melts (or chocolate chips) — 24 ounces: Choose good-quality candy melts like Wilton brand for consistent melting, or substitute semi-sweet chocolate chips such as Ghirardelli if you prefer real chocolate. The darker base gives structure and contrast to the top layer.
- White almond bark (or white chocolate chips or melting wafers) — 20 ounces: White coating melts smoothly and creates the glossy top. If you use white chocolate chips, add a small teaspoon of vegetable oil if needed for shine.
- Peppermint extract (oil-based) — 1 teaspoon: Use an oil-based extract so the white layer remains smooth; water-based extracts can make chocolate seize. Brands like LorAnn make reliable oil-based extracts.
- Crushed peppermint candies — 3 ounces: Finely crush candy canes or peppermint disks in a sealed bag with a rolling pin. Aim for a mix of powder and small shards for texture.
- Sea salt flakes — 1 1/2 teaspoons: Maldon or another flaked sea salt provides a delicate, crunchy pop and balances sweetness. Sprinkle sparingly to avoid overpowering the peppermint.
Instructions
Prepare the Pan: Line a rimmed baking sheet with parchment paper or wax paper, leaving an overhang on two sides for easy removal. Choose a sheet that yields a 12 x 16 inch coverage so the bark is not too thin; thicker bark is sturdier for gifting. Set the sheet on a heatproof surface. Melt the Dark Layer: Use a double boiler set over simmering water or microwave in 30-second bursts, stirring between intervals. If using a microwave, heat for 30 seconds, stir, then 15-second bursts until smooth to avoid scorching. Total melting time is usually 2–5 minutes depending on bowl and appliance. Aim for a glossy texture and an internal temperature around 110°F for candy melts. Spread the Dark Layer: Pour the melted dark chocolate onto the prepared sheet and use an offset spatula or the back of a spoon to spread to an even thickness, about 1/8 to 1/4 inch. Work quickly so it does not fully set; you want it tacky but stable—this usually takes 3–6 minutes at room temperature. If it cools completely, gently warm the bottom of the sheet over a warm surface for a few seconds. Melt and Flavor the White Layer: Melt the white almond bark in a spare bowl using the microwave or double boiler, stirring to a smooth consistency. Remove from heat and stir in the 1 teaspoon oil-based peppermint extract. If the white becomes too thick, add a small teaspoon of neutral oil to loosen it slightly; this improves sheen and pourability. Top and Finish: Pour the warm white chocolate over the partially set dark base and spread gently with an offset spatula. Work swiftly so the layers adhere. Immediately sprinkle the crushed peppermint evenly across the surface, pressing shards lightly so they stick, then scatter the sea salt flakes while the white is still warm. Set and Slice: Let the bark set at room temperature until firm, about 45–90 minutes depending on room temperature. For faster setting, refrigerate the sheet on a level surface for 15–25 minutes, but avoid condensation by not chilling for too long. Use the parchment overhang to lift the bark, then cut into irregular pieces with a sharp knife or snap by hand.
You Must Know
- The oil-based peppermint extract prevents the white coating from seizing; do not substitute with water-based extract.
- Room temperature affects setting time greatly—warmer kitchens speed up setting but can make the layers less glossy.
- Freeze well for up to 3 months; thaw at room temperature before serving to preserve texture and flavor.
- This treat is high in calories and sugar; portion into small pieces for balance and serving ease.
- If using real white chocolate instead of almond bark, tempering or adding a teaspoon of oil helps achieve a smooth finish.
My favorite thing about this recipe is how forgiving it is. Once I learned to let the first layer become just tacky, the layers adhered perfectly every time. Friends have told me they love the salt contrast—it transforms simple chocolate into something adult and sophisticated. I often make two batches at once: one to keep and one to gift, and the feedback is always the same—beautiful, festive, and gone within a day.
Storage Tips
Store the pieces in an airtight container at cool room temperature for up to two weeks; avoid humid environments which can soften the chocolate. For longer storage, layer parchment between pieces and freeze in a sealed container for up to three months. Thaw in the refrigerator for 30 minutes, then bring to room temperature before unwrapping to prevent condensation. When transporting, keep them flat and cushioned to avoid breakage—small boxes lined with parchment or festive tins work well.
Ingredient Substitutions
Swap the light cocoa candy melts for good-quality chocolate chips if you prefer a more authentic chocolate flavor—semi-sweet or bittersweet work well. If using white chocolate chips instead of almond bark, consider adding 1 teaspoon of neutral oil (vegetable or coconut) to improve gloss and spreadability. For a nut-free option, avoid almond-flavored coatings and check labels for shared equipment warnings. You can replace crushed peppermint with crushed ginger candies or toffee for a different flavor profile, adjusting salt to taste.
Serving Suggestions
Serve pieces on a platter with festive paper liners or in small cellophane bags tied with ribbon for gifting. Pair with hot cocoa, coffee, or mulled wine to highlight the peppermint. For a dessert board, include biscotti, dried fruit, and a selection of nuts; the bark adds a crisp, minty counterpoint. Garnish with whole candy canes or small sprigs of fresh mint when presenting to guests for an elevated look.
Cultural Background
Peppermint bark is a modern confection rooted in the long tradition of chocolate layering and flavored confections popularized in the United States. Its combination of chocolate and mint echoes classic European flavor pairings, while the shard-style presentation reflects the American love of rustic, shareable sweets. The use of commercial candy melts and almond bark became popular in home baking during the late 20th century for their ease of use and consistency, making this a quintessentially festive, approachable treat.
Seasonal Adaptations
Adapt the topping for different seasons: use crushed pumpkin spice cookies and a dusting of cinnamon for autumn, or substitute crushed freeze-dried raspberries and white chocolate for Valentine’s Day. For spring, try lemon zest in the white layer instead of peppermint and top with candied citrus peel. Adjust the salt and candy amounts when switching flavors to maintain balance.
Meal Prep Tips
Make multiple sheets at once and freeze fully set slabs before breaking into pieces; this compresses storage space and keeps pieces from sticking together. Label containers with date and contents. For gifting, portion 6–8 pieces per bag and include a small card with storage notes. When prepping for an event, make the bark two days ahead and store at cool room temperature to keep it fresh while freeing up prep time on the day of serving.
No matter how you slice it, this salted peppermint bark is a simple pleasure—quick to make, endlessly shareable, and charming on any holiday table. It’s one of those recipes I always come back to when I want something pretty, portable, and undeniably festive.
Pro Tips
Always use oil-based peppermint extract with white coating to prevent seizing.
Let the dark layer become tacky before spreading the white layer so the layers adhere cleanly.
Crush candies in a sealed bag and reserve a mix of powder and shards for visual interest and texture.
Work on a level surface when spreading to ensure even thickness and clean snapping.
If white coating becomes too thick, stir in 1 teaspoon of neutral oil for improved gloss and pourability.
This nourishing salted peppermint bark recipe is sure to be a staple in your kitchen. Enjoy every moist, high protein slice — it is perfect for breakfast or as a wholesome snack any time.
FAQs about Recipes
Can I use any peppermint extract?
Use oil-based peppermint extract to avoid seizing; if white chocolate thickens, add a teaspoon of neutral oil.
How long does the bark keep?
Yes. Wrap in airtight containers and freeze up to 3 months. Thaw slowly to avoid condensation.
Tags
Salted Peppermint Bark
This Salted Peppermint Bark recipe makes perfectly juicy, tender, and flavorful steak every time! Serve with potatoes and a side salad for an unforgettable dinner in under 30 minutes.
Ingredients
Dark Chocolate Layer
White Chocolate Layer & Toppings
Instructions
Prepare the baking sheet
Line a rimmed baking sheet with parchment or wax paper leaving an overhang for easy removal. Choose a sheet size around 12 x 16 inches for a medium-thick slab.
Melt the dark chocolate
Melt 24 ounces of candy melts or chocolate chips in a microwave-safe bowl in 30-second bursts, stirring between intervals, until smooth. Alternatively, use a double boiler over simmering water.
Spread the dark layer
Pour the melted dark chocolate onto the prepared sheet and spread to an even 1/8–1/4 inch thickness with an offset spatula. Allow to set until just tacky, about 3–6 minutes at room temperature.
Melt and flavor the white coating
Melt 20 ounces of white almond bark or white chocolate chips using the same method. Remove from heat and stir in 1 teaspoon oil-based peppermint extract; add 1 teaspoon neutral oil if needed for sheen.
Top with white coating and candies
Spread the white coating over the tacky dark base, then immediately sprinkle 3 ounces crushed peppermint evenly and finish with 1 1/2 teaspoons flaked sea salt.
Set and cut
Let the bark set at room temperature for 45–90 minutes or refrigerate 15–25 minutes until firm. Use the parchment overhang to lift and cut into pieces with a sharp knife or break into shards.
Last Step: Please leave a rating and comment letting us know how you liked this recipe! This helps our business to thrive and continue providing free, high-quality recipes for you.
Nutrition
Did You Make This?
Leave a comment & rating below or tag
@aiolirecipe on social media!
Categories:
You might also like...

Fall Harvest Pasta Salad
A cozy, colorful salad that celebrates autumn flavors — roasted butternut squash and Brussels sprouts tossed with pasta, cranberries, pecans, and tangy feta, finished with a balsamic vinaigrette.

Cilantro Lime Steak Bowls
Bright, tangy cilantro-lime marinated flank steak served over rice with black beans, corn, fresh veggies and creamy avocado for a fast, healthy weeknight bowl.

Pecan Pie Crescent Rolls
Buttery crescent rolls filled with a sweet pecan pie–inspired filling — a quick, crowd-pleasing dessert perfect for holidays or weeknight cravings.
Did You Make This?
Leave a comment & rating below or tag @aiolirecipe on social media!
Rate This Recipe
Share This Recipe
Enjoyed this recipe? Share it with friends and family, and don't forget to leave a review!
Comments (1)
This recipe looks amazing! Can't wait to try it.
Comments are stored locally in your browser. Server comments are displayed alongside your local comments.
Hi, I'm Olivia!
What's Popular

30-Minute Meals!
Join to receive our email series which contains a round-up of some of our quick and easy family favorite recipes.