
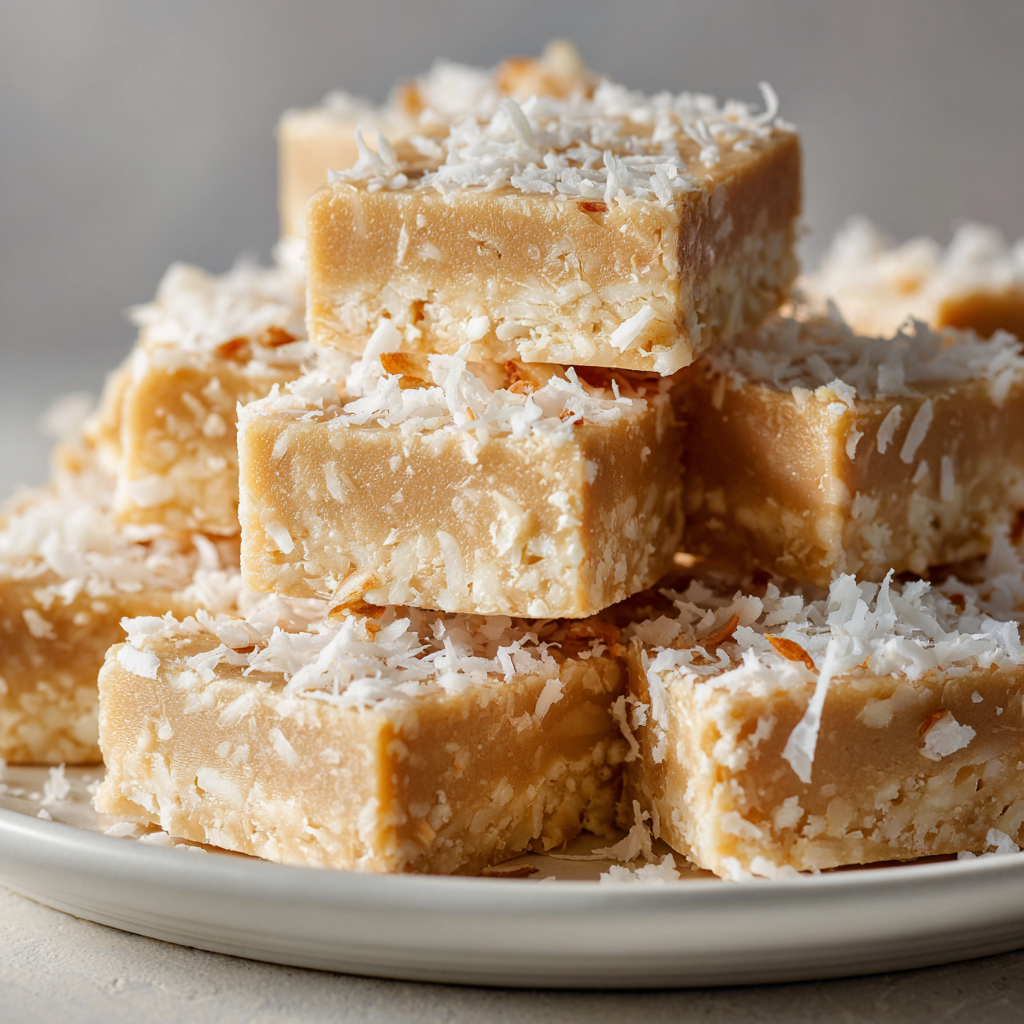
Healthy Coconut Vanilla Protein Bars

No-bake coconut vanilla bars packed with protein, healthy fats, and natural sweetness — an easy, make-ahead snack for busy days.

This coconut vanilla protein bar has become my go-to snack when the week gets busy and I want something nourishing to grab between meetings or after a workout. I discovered this combination one weekend while cleaning out the pantry: a jar of almond butter, a bag of vanilla protein powder, and a lonely cup of shredded coconut. I wanted something that tasted like a treat but kept me full, so I played with ratios until the texture felt chewy, slightly tender, and pleasantly coconut-forward. The result was a tray of bars that my partner and I finished in two days, and our friends asked for the recipe at a picnic the next week.
What makes these bars special is the balance of simple, whole-ingredient flavors: the warm, toasty note of shredded coconut, the familiar nuttiness of peanut or almond butter, and a rounded vanilla sweetness. They are no-bake, fridge-set, and forgiving—if the mixture is a touch sticky, a tablespoon of coconut flour fixes it without changing the flavor. I love that they travel well for hikes, fit nicely into a lunchbox, and can be doubled or halved without fuss. Whether you use plant-based protein or whey, this recipe adapts while keeping a reliable texture and satisfying bite.
Why You'll Love This Recipe
- Ready with minimal hands-on time: about 15 minutes active work and 1 hour to set, so you can prep before work and have snacks for the week.
- Uses pantry staples: vanilla protein powder, nut butter, shredded coconut, honey or maple syrup, and coconut oil — nothing exotic required.
- Customizable firmness: add 1 to 2 tablespoons of coconut flour to firm up, or skip for a chewier bar.
- Crowd-pleasing and portable: holds shape in a lunchbox, post-gym bag, or picnic basket; topping options allow a dessert-like finish.
- Makes a great post-workout bite: a balance of protein and healthy fats that helps with recovery and satiety.
- Make-ahead friendly: stores easily in the refrigerator for up to a week or freezes well for longer storage.
In my house these bars have become a constant. I once brought them to a weekend hiking trip and came home with half the container empty because everyone kept reaching for seconds. They are one of those recipes that sparks small conversations—people always ask how something so simple can taste so balanced.
Ingredients
- Vanilla protein powder (1 cup): Choose a trusted brand you like the taste of. Plant-based blends work beautifully if you prefer dairy-free options, while whey will create a slightly firmer bite. Measure loosely packed; scoop level for consistent texture.
- Creamy peanut butter or almond butter (1/2 cup): Use unsweetened, natural nut butter for the cleanest flavor. Brands like Justin's or a stirring-style peanut butter yield a smooth texture when mixed. If your nut butter separates, stir it first.
- Honey or maple syrup (1/4 cup): Honey gives a deeper floral sweetness; maple syrup lends a lighter, more neutral flavor and keeps the bars vegan if you choose plant protein.
- Melted coconut oil (1/4 cup): Adds rich mouthfeel and helps the bars set when chilled. Use refined coconut oil for a neutral flavor or virgin for a coconut aroma.
- Vanilla extract (1 tsp): Real vanilla extract elevates the protein powder’s flavor—don’t skip it for the best aroma.
- Unsweetened shredded or flaked coconut (1 cup): Provides chew and coconut character; choose unsweetened to control sweetness. Larger flakes give more texture, fine shredded coconut gives a smoother bite.
- Pinch of sea salt: Enhances all flavors and prevents the bars from tasting flat.
- Optional - coconut flour (1–2 tbsp): Use to firm up a sticky mixture; start with 1 tablespoon and add as needed.
- Optional topping: Extra shredded coconut or a light drizzle of melted white chocolate for a dessert finish.
Instructions
Line the pan: Line an 8x8-inch square baking dish with parchment paper, leaving an overhang on two sides to lift the bars out later. The parchment prevents sticking and makes for clean slices. If you don’t have an 8x8 pan, use a similar-sized container and adjust thickness accordingly. Mix the wet ingredients: In a medium mixing bowl, combine 1/2 cup nut butter, 1/4 cup honey or maple syrup, 1/4 cup melted coconut oil, and 1 teaspoon vanilla extract. Stir until you have a smooth, glossy emulsion—if the oil begins to re-solidify, warm the bowl briefly over a bowl of hot water to keep everything fluid for mixing. Add the dry ingredients: Fold in 1 cup vanilla protein powder, 1 cup shredded coconut, and a pinch of sea salt. Use a spatula to scrape the sides and ensure even distribution. Assess the texture: if it seems too loose to hold shape, sprinkle in 1 tablespoon of coconut flour, stir, then add another tablespoon only if needed. The ideal texture is pliable and slightly tacky. Press and shape: Transfer the mixture to the prepared pan. Use a spatula or a piece of parchment paper over the mixture to press it down firmly and evenly into the corners. Compacting the mixture well helps the bars hold together when sliced. Chill to set: Refrigerate for 1 to 2 hours until firm. For a faster set, place the pan in the freezer for about 30 minutes. If chilled in the freezer, allow the bars to sit at room temperature for 5 minutes before slicing for cleaner cuts. Slice and serve: Lift the set slab from the pan using the parchment overhang and transfer to a cutting board. Use a sharp knife to cut into 10 to 12 bars. If desired, sprinkle extra shredded coconut on top or drizzle with melted white chocolate. Store in an airtight container in the refrigerator.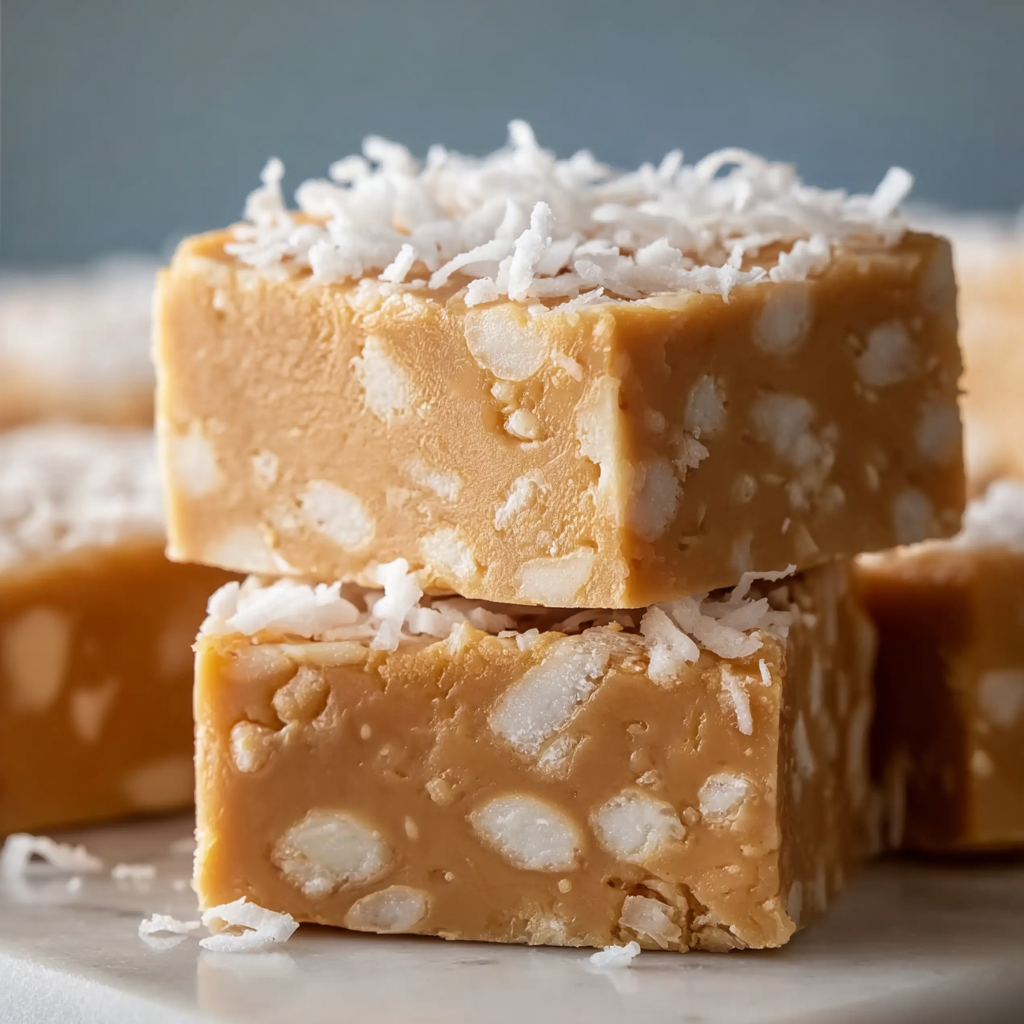
You Must Know
- Nutrition and energy: these bars are energy-dense, offering a good balance of protein and healthy fats — ideal for snacks or post-exercise refueling.
- Storage: keep refrigerated up to 7 days or freeze for up to 3 months; thaw in the refrigerator before serving for best texture.
- Allergen note: contains tree nuts or peanuts and coconut; double-check protein powder labels if avoiding traces of soy or gluten.
- Setting tip: if bars crumble when cut, press the mixture more firmly next time or add an extra tablespoon of coconut flour to increase binding.
My favorite part is how easily these adapt: I’ve made them softer for younger snackers and firmer for hiking rations by tweaking just the coconut flour. A friend once layered melted dark chocolate over them and called them “healthy candy” — a compliment I happily accept.
Storage Tips
Store bars in an airtight container in the refrigerator for up to 7 days. For longer storage, wrap individual bars in parchment and freeze in a resealable bag for up to 3 months. When reheating, avoid microwaving for more than 10 seconds as the coconut oil will soften quickly; instead, let a frozen bar rest at room temperature for 10 to 15 minutes or transfer from freezer to refrigerator overnight. Use glass or BPA-free plastic containers to prevent flavor transfer and keep humidity low.
Ingredient Substitutions
If you prefer a different nut profile, swap almond butter for peanut butter at a 1:1 ratio—expect a slightly milder flavor. To keep them vegan, use maple syrup and a plant-based protein powder. For a chocolate-coconut variation, replace 1/4 cup of the protein powder with unsweetened cocoa powder and increase honey or maple syrup by 1 teaspoon to balance bitterness. If coconut is an issue, finely chopped rolled oats (start with 3/4 cup) can provide bulk, though the final texture will be chewier rather than coconut-forward.
Serving Suggestions
Serve these bars chilled alongside a cup of coffee or green tea for a balanced breakfast on the go. For an indulgent snack, warm lightly and pair with Greek yogurt and fresh berries. At brunch, present cut squares on a platter garnished with toasted coconut and a light dusting of cocoa or cinnamon. They also complement savory elements like a green salad if you want a sweet finish without a heavy dessert.
Cultural Background
While not tied to a single traditional cuisine, these bars draw on tropical ingredients — coconut and coconut oil — often used in Southeast Asian and Caribbean cooking. The rise of protein powders and on-the-go nutrition in Western food culture inspired this hybrid: a cross between energy bars and a homemade snack bar. It’s a modern kitchen solution combining global flavors and contemporary nutrition trends.
Seasonal Adaptations
In winter, swap maple syrup for honey and add a pinch of warming spices like cinnamon or nutmeg. In summer, fold in 1/4 cup finely chopped dried pineapple or mango and reduce coconut flour slightly to keep bars chewier. For holiday gatherings, press a few toasted pecans on top and drizzle with spiced white chocolate. These small swaps keep the core method intact while reflecting seasonal produce and flavors.
Meal Prep Tips
Double the batch and press into two 8x8 pans to build a week’s worth of snacks in one session. Label and date frozen portions to rotate through your freezer. To portion for lunches, wrap individual bars in parchment and store in a breathable container to prevent condensation. For athletes, pack one bar with a small banana and a bottle of water for a complete on-the-go recovery set.
These coconut vanilla bars are simple, adaptable, and genuinely useful—whether you need a quick pick-me-up, post-exercise fuel, or a portable brunch component. Make a batch this weekend and watch how quickly they disappear; then tweak one variable next time to fine-tune the texture to your liking.
Pro Tips
If mixture feels too soft, add 1 tablespoon of coconut flour at a time until it holds shape.
Press the mixture firmly into the pan to ensure bars slice cleanly and don’t crumble.
For cleaner cuts, chill fully and use a sharp knife dipped in hot water, wiping the blade between cuts.
If using natural peanut butter with oil separation, stir thoroughly before measuring to ensure consistency.
This nourishing healthy coconut vanilla protein bars recipe is sure to be a staple in your kitchen. Enjoy every moist, high protein slice — it is perfect for breakfast or as a wholesome snack any time.
Tags
Healthy Coconut Vanilla Protein Bars
This Healthy Coconut Vanilla Protein Bars recipe makes perfectly juicy, tender, and flavorful steak every time! Serve with potatoes and a side salad for an unforgettable dinner in under 30 minutes.
Instructions
Line the pan
Line an 8x8-inch square baking dish with parchment paper, leaving a bit of overhang on the sides to lift the bars out once set.
Mix the wet ingredients
In a medium mixing bowl, combine 1/2 cup peanut or almond butter, 1/4 cup honey or maple syrup, 1/4 cup melted coconut oil, and 1 teaspoon vanilla extract. Stir until smooth and well blended.
Add the dry ingredients
Stir in 1 cup vanilla protein powder, 1 cup shredded coconut, and a pinch of sea salt. If the mixture seems too soft or sticky, add 1 to 2 tablespoons of coconut flour to firm up.
Press and shape
Transfer the mixture into the prepared pan and press down evenly using a spatula or the back of a spoon, reaching all corners and smoothing the top.
Chill to set
Place the pan in the refrigerator for 1 to 2 hours, or freeze for about 30 minutes for a faster set, until the mixture is firm.
Slice and serve
Lift the set slab from the pan using the parchment overhang and cut into 10 to 12 bars or squares. Top with extra coconut or a drizzle of melted white chocolate if desired.
Last Step: Please leave a rating and comment letting us know how you liked this recipe! This helps our business to thrive and continue providing free, high-quality recipes for you.
Nutrition
Did You Make This?
Leave a comment & rating below or tag
@aiolirecipe on social media!
Categories:
You might also like...

Fall Harvest Pasta Salad
A cozy, colorful salad that celebrates autumn flavors — roasted butternut squash and Brussels sprouts tossed with pasta, cranberries, pecans, and tangy feta, finished with a balsamic vinaigrette.

Cilantro Lime Steak Bowls
Bright, tangy cilantro-lime marinated flank steak served over rice with black beans, corn, fresh veggies and creamy avocado for a fast, healthy weeknight bowl.

Pecan Pie Crescent Rolls
Buttery crescent rolls filled with a sweet pecan pie–inspired filling — a quick, crowd-pleasing dessert perfect for holidays or weeknight cravings.
Did You Make This?
Leave a comment & rating below or tag @aiolirecipe on social media!
Rate This Recipe
Share This Recipe
Enjoyed this recipe? Share it with friends and family, and don't forget to leave a review!
Comments (1)
This recipe looks amazing! Can't wait to try it.
Comments are stored locally in your browser. Server comments are displayed alongside your local comments.
Hi, I'm Olivia!
What's Popular

30-Minute Meals!
Join to receive our email series which contains a round-up of some of our quick and easy family favorite recipes.