
Christmas Pinwheel Cookies

Festive red, green, and vanilla pinwheel slices with crisp edges and a tender, buttery center — perfect for holiday cookie trays and gifting.
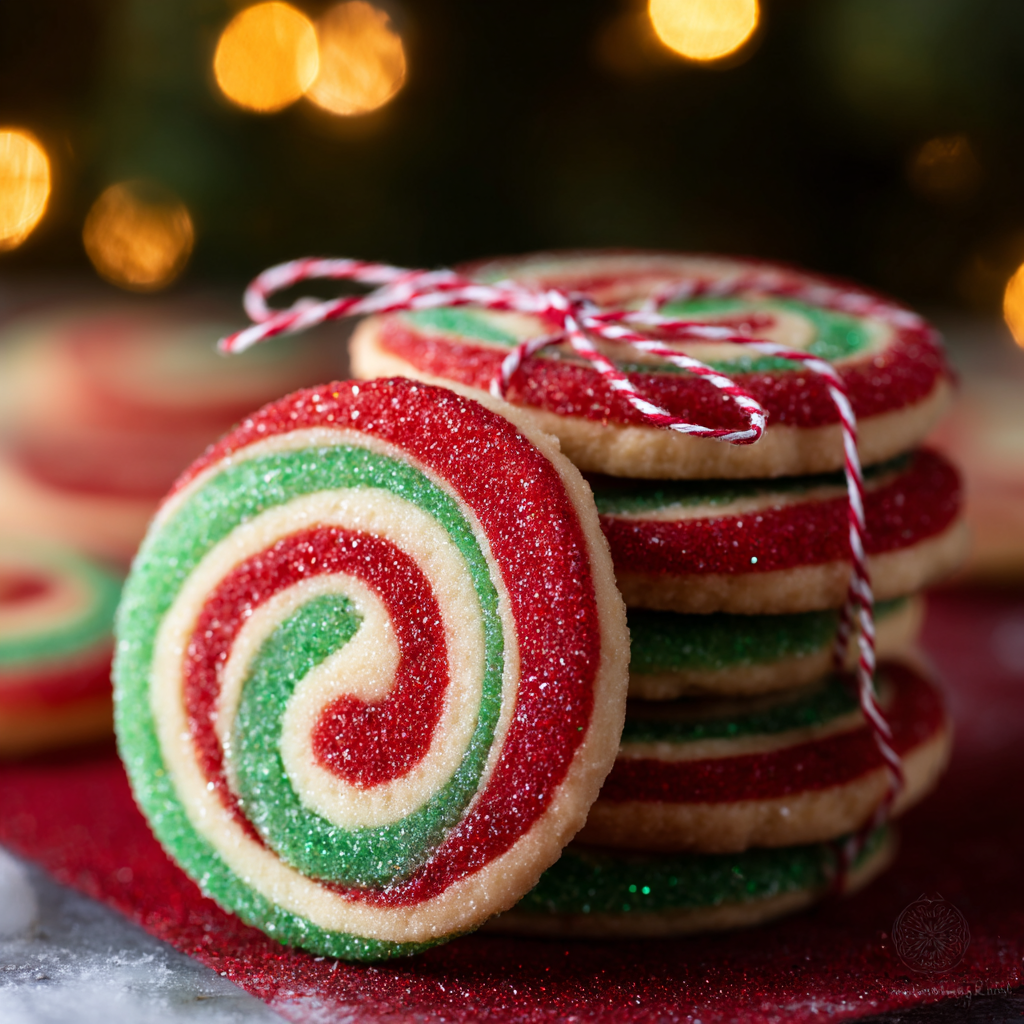
This recipe for Christmas pinwheel cookies has been my favorite holiday baking project for years. I fell in love with the spiraled red, green, and vanilla layers the first time I rolled one out on a kitchen counter dusted with powdered sugar and laughter. I first made these during a December cookie swap when I had just a pantry of basics and a head full of holiday ideas; they arrived on the platter looking like little candy canes in cross-section and vanished within an hour. The balance of a tender, buttery dough and a crisp edge once baked makes every bite both nostalgic and celebratory.
These cookies taste like classic sugar cookie dough but with a visual flourish that makes them feel special. The texture is slightly dense and tender in the center with a thin, golden edge when baked correctly. The short mixing time avoids overworking the gluten, keeping the layers soft. Rolling three color layers into a tight log is meditative — the dough responds well when kept cool, and the slices hold their swirl beautifully. These are the cookies I bring to family gatherings, and my niece always requests them for school parties because they’re colorful and durable for transport.
Why You'll Love This Recipe
- Make-ahead friendly: dough can be refrigerated or frozen so you can prepare components days in advance and finish closer to the event.
- Visual impact with minimal fuss: three simple dough colors create a striking pinwheel without specialized cutters or décor.
- Pantry-accessible ingredients: uses butter, sugar, egg, flour, and common leaveners — no obscure items required.
- Quick bake time: individual slices bake in about 8 to 10 minutes so multiple trays come together quickly.
- Customizable: swap colors or add flavors like almond extract or cocoa powder for variation.
- Kid-friendly assembly: rolling the sheets and cutting slices is an enjoyable, safe task for older children to help with.
On my first try I underestimated how snug to roll the log; once I tightened the spiral just a touch more, the pinwheels sliced perfectly. Family members have called these "holiday little spirals of joy" and they make a lovely addition to gift tins because they stack neatly without crumbling.
Ingredients
- Unsalted butter (2/3 cup): Use high-quality European-style butter if possible for a richer flavor and better spread control. Soften to room temperature but not greasy—about 20 minutes on the counter.
- Granulated sugar (2/3 cup): Provides structure and a clean sweetness. Measure by spooning into a cup then level for accuracy; organic cane sugar works well.
- Large egg (1): Binds the dough and adds tenderness. Use an egg at room temperature so it emulsifies into the butter smoothly.
- Vanilla extract (1 teaspoon): Adds warm, rounded flavor; pure vanilla extract is preferred over imitation for best results.
- All-purpose flour (1 3/4 cups): The backbone of the dough. Spoon and level for precise measurements; if you prefer a slightly more tender bite, swap 2 tablespoons with cornstarch.
- Kosher salt (1/2 teaspoon): Enhances sweetness and balances flavor — Diamond Crystal or Morton are both fine but note Morton is slightly saltier by volume.
- Baking soda (1/4 teaspoon): Small amount for lift and lightness; it helps prevent the cookies from being overly dense after chilling.
- Red & green gel food coloring: Gel colors provide vivid tones without adding liquid. Use brands like AmeriColor for consistency.
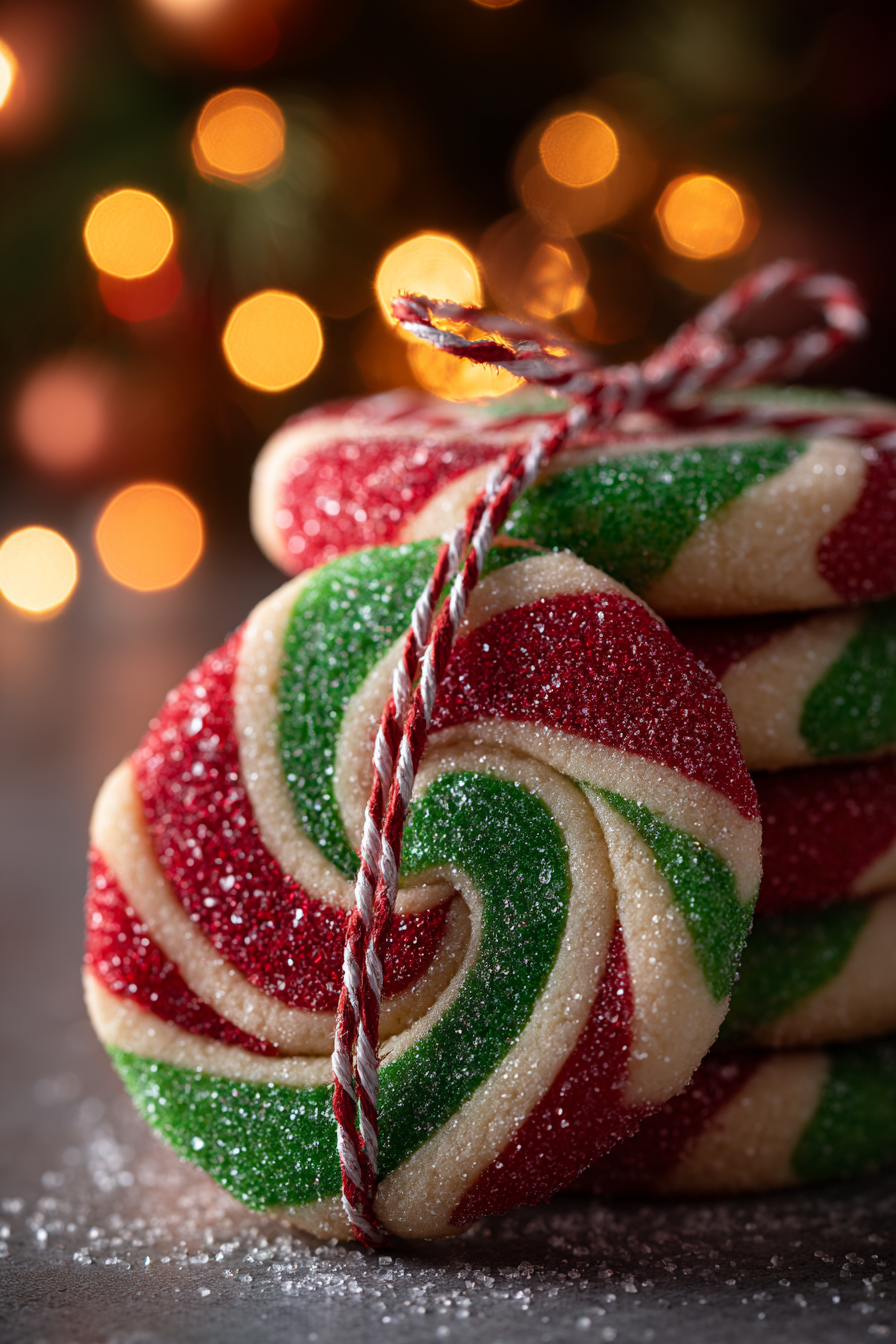
- Red sanding sugar: For garnish and sparkle on the cookie edges; provides a festive crunch and shine.
Instructions
Make the base dough: Add the softened butter and sugar to the bowl of a stand mixer fitted with the paddle attachment. Beat at medium speed until creamy, about 3 to 4 minutes. The mixture should lighten in color and feel smooth to the touch. Add the egg and vanilla and beat until incorporated, scraping down the bowl so nothing clings to the sides. Combine dry ingredients and mix: In a medium bowl whisk together the flour, kosher salt, and baking soda. With the mixer on low speed, gradually add the flour mixture to the butter mixture until just combined. Avoid overmixing — stop when no streaks of flour remain. The dough should hold together without being greasy. Divide and color: Turn the dough onto a lightly floured surface and divide it into thirds. Return one third to the mixing bowl, add a small amount of red gel food coloring, and beat until evenly colored. Repeat with another third using green gel coloring. Leave the final third plain. Form each portion into a smooth ball, wrap tightly in plastic wrap, and refrigerate for 1 hour so the dough firms up for easier rolling. Roll each portion: Between two sheets of parchment paper, roll each chilled ball into a 7-inch square. Keep pressure even to maintain uniform thickness. Refrigerate each sheet between the parchment for 15 minutes to relax the dough and keep edges sharp when stacked. Stack and form the log: Place the red sheet on a clean piece of parchment, then the green, then the plain sheet on top. Add a final sheet of parchment and gently roll the stack into a 12×8-inch rectangle. Remove the top parchment, then starting at a long side, roll tightly into a log. Wrap in parchment and freeze for 1 hour — freezing helps the log keep its shape when slicing. Slice and bake: Preheat the oven to 350°F (175°C). Line baking sheets with parchment. Using a serrated knife, cut the chilled log into 1/3-inch slices; a sawing motion reduces squashing. Roll the edge of each slice in red sanding sugar and place 1 inch apart on prepared sheets. Bake 8 to 10 minutes until set and the edges just begin to color. Cool on the sheet for 1 minute, then transfer to a wire rack to cool completely.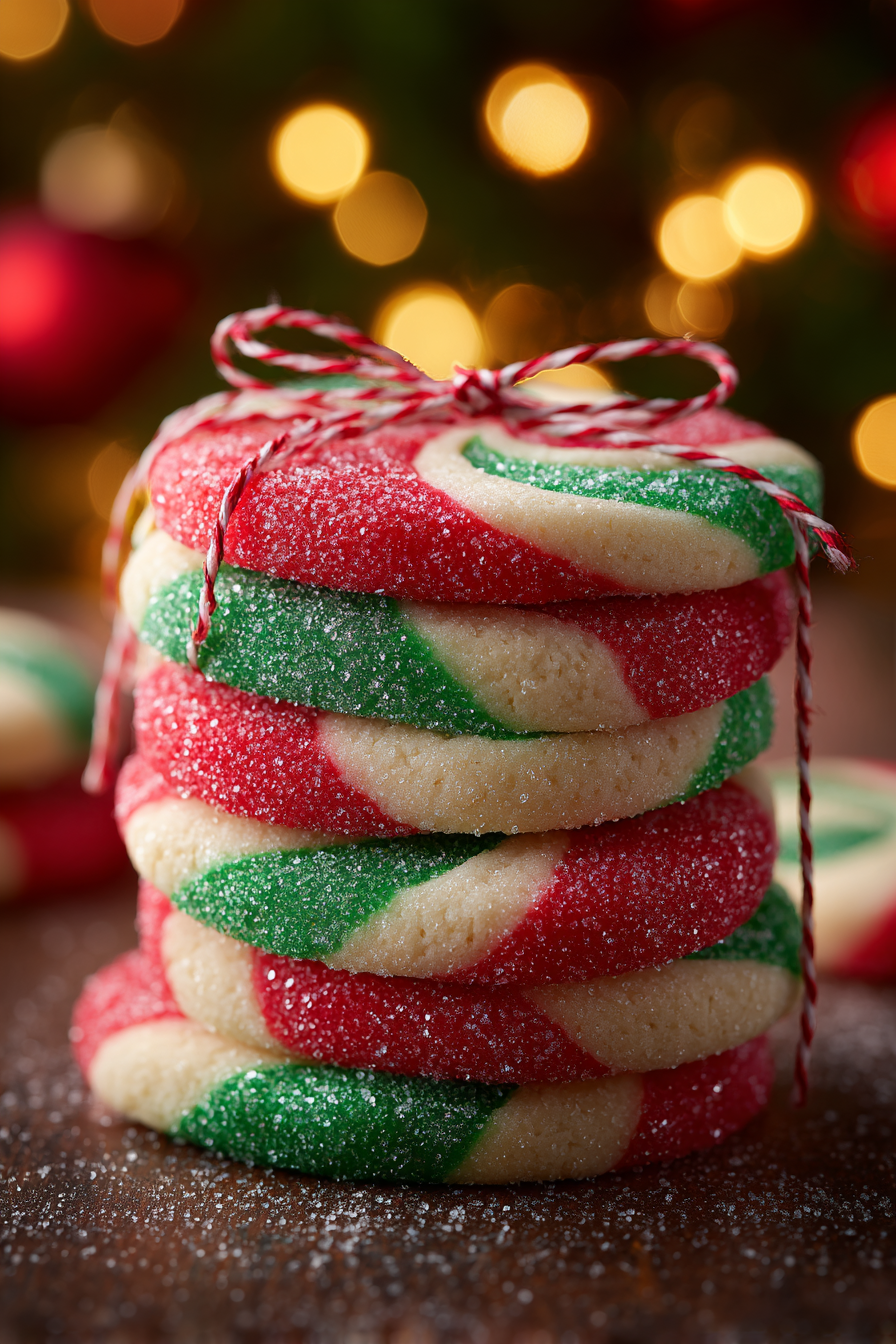
You Must Know
- Dough chilling is crucial: refrigerate before rolling and freeze the log for at least one hour to prevent shape loss when slicing.
- Slicing technique matters: use a sharp serrated knife and a gentle sawing motion to keep clean spirals without squashing the dough.
- These store well: once fully cooled, keep in an airtight container at room temperature for up to 5 days or freeze up to 3 months.
- Texture tip: avoid overbaking — remove when just set to keep the centers tender while edges crisp.
My favorite part is the final reveal: unwrapping the log and watching the ribbon-like swirl appear when I slice the first cookie. At our holiday parties guests always ask how I get such even spirals; the secret is patient chilling and rolling the sheets as evenly as possible. The sanding sugar adds that festive sparkle and a delicate crunch on the outside.
Storage Tips
Store cookies in an airtight container layered with parchment to prevent sticking. At room temperature they remain fresh for up to 5 days; refrigerate for up to 2 weeks if you prefer chilled texture. To freeze, place slices on a tray until firm, then transfer to a freezer-safe container or zip-top bag for up to 3 months. Thaw at room temperature in a single layer for 30 minutes before serving. For best results when freezing, flash-freeze slices before stacking to retain spiral definition.
Ingredient Substitutions
If you need dairy-free options, substitute the butter with a firm, block-style dairy-free spread measured cup-for-cup — note texture may be slightly different. For an egg-free version, use a commercial egg replacer or 3 tablespoons of aquafaba; the dough may be more delicate to handle. To make chocolate pinwheels, replace one colored layer with cocoa dough (swap 2 tablespoons of flour for 2 tablespoons unsweetened cocoa) and adjust sugar slightly. For a lower-sugar version, use a sugar substitute formulated for baking but expect some texture change.
Serving Suggestions
Serve on a festive platter alongside peppermint bark and spiced nuts. These biscuits pair beautifully with hot cocoa or mulled cider; the vanilla-dusted center complements warm spices. For gifting, stack in decorative tins with parchment dividers and a ribbon. Garnish with a sprig of rosemary or a few cranberries on a cheese board for holiday color contrast. They also cut nicely into cookie sandwiches using a small amount of buttercream or cream cheese filling.
Cultural Background
Pinwheel-style cookies are a modern twist on classic rolled biscuits and decorative European biscuits that emphasize pattern and presentation. Spiraled pastries have been made for centuries, often to show decorative skill and to celebrate holidays. The red-and-green colorway is a recent holiday adaptation inspired by Christmas palettes and makes simple sugar dough feel ceremonious — a contemporary holiday tradition that blends visual appeal with approachable technique.
Seasonal Adaptations
For winter, add 1/2 teaspoon of ground cinnamon to the plain layer for a warm note. At Valentine’s Day, switch to red and white layers and use pink sanding sugar. For spring, substitute natural matcha powder for the green layer for subtle tea flavor and earthy color. Holiday flavors like peppermint extract (use sparingly) or a smear of apricot jam between stacked layers can create distinctive seasonal variations while keeping the pinwheel method intact.
Meal Prep Tips
Prepare dough a day or two ahead: complete the dough, color, and chill the sheets individually, then stack and roll the log just before freezing or baking. For efficient baking, slice the log and freeze slices on a tray so you can bake straight from frozen — add an extra minute or two to the bake time. Label containers with baking dates and plan 8–10 minutes per tray when scheduling baking for parties or gift prep sessions.
These cookies are a joyful, hands-on holiday project that rewards patience with beautiful results. Whether shared with neighbors or stacked in tins for family, they bring bright color and classic flavor to any gathering. Give the technique a try and make the spiral your own.
Pro Tips
Chill the log before slicing to prevent the cookie from losing its spiral shape when cut.
Use a serrated knife with a gentle sawing motion to get clean slices without compressing the dough.
Flash-freeze slices before stacking to keep the spirals intact when storing in the freezer.
Allow the butter to soften but not melt; too-soft butter yields sticky dough that's hard to roll.
This nourishing christmas pinwheel cookies recipe is sure to be a staple in your kitchen. Enjoy every moist, high protein slice — it is perfect for breakfast or as a wholesome snack any time.
Tags
Christmas Pinwheel Cookies
This Christmas Pinwheel Cookies recipe makes perfectly juicy, tender, and flavorful steak every time! Serve with potatoes and a side salad for an unforgettable dinner in under 30 minutes.
Instructions
Cream butter and sugar
Beat 2/3 cup softened unsalted butter and 2/3 cup sugar in a stand mixer at medium speed until creamy, about 3–4 minutes. Add 1 large egg and 1 teaspoon vanilla and mix until incorporated, scraping the bowl as needed.
Combine dry ingredients
Whisk together 1 3/4 cups all-purpose flour, 1/2 teaspoon kosher salt, and 1/4 teaspoon baking soda. With the mixer on low, add the flour mixture gradually and beat until just combined to avoid overworking the dough.
Divide and color dough
Divide dough into thirds. Color one third red and one third green using gel colors, beating until evenly tinted. Leave the final third plain. Shape each into a ball, wrap, and refrigerate for 1 hour to firm.
Roll into sheets
Between parchment sheets roll each chilled ball into a 7-inch square. Chill 15 minutes between parchment sheets to keep edges crisp and even before stacking.
Stack and roll into a log
Stack red, green, and plain sheets on a piece of parchment (red at bottom), top with parchment and roll into a 12×8-inch rectangle. Remove top parchment and roll tightly from a long side into a log. Wrap and freeze 1 hour to firm the log.
Slice and bake
Preheat oven to 350°F. Slice the chilled log into 1/3-inch slices with a serrated knife. Roll edges in red sanding sugar and place 1 inch apart on parchment-lined sheets. Bake 8–10 minutes until just set; cool briefly on the sheet then transfer to a wire rack.
Last Step: Please leave a rating and comment letting us know how you liked this recipe! This helps our business to thrive and continue providing free, high-quality recipes for you.
Nutrition
Did You Make This?
Leave a comment & rating below or tag
@aiolirecipe on social media!
Categories:
You might also like...

Fall Harvest Pasta Salad
A cozy, colorful salad that celebrates autumn flavors — roasted butternut squash and Brussels sprouts tossed with pasta, cranberries, pecans, and tangy feta, finished with a balsamic vinaigrette.

Cilantro Lime Steak Bowls
Bright, tangy cilantro-lime marinated flank steak served over rice with black beans, corn, fresh veggies and creamy avocado for a fast, healthy weeknight bowl.

Pecan Pie Crescent Rolls
Buttery crescent rolls filled with a sweet pecan pie–inspired filling — a quick, crowd-pleasing dessert perfect for holidays or weeknight cravings.
Did You Make This?
Leave a comment & rating below or tag @aiolirecipe on social media!
Rate This Recipe
Share This Recipe
Enjoyed this recipe? Share it with friends and family, and don't forget to leave a review!
Comments (1)
This recipe looks amazing! Can't wait to try it.
Comments are stored locally in your browser. Server comments are displayed alongside your local comments.
Hi, I'm Olivia!
What's Popular

30-Minute Meals!
Join to receive our email series which contains a round-up of some of our quick and easy family favorite recipes.