
>>

Crispy-edged sweet potato rounds stacked, seasoned, and crowned with melty cheddar — a simple, crowd-pleasing side or vegetarian main ready in under an hour.
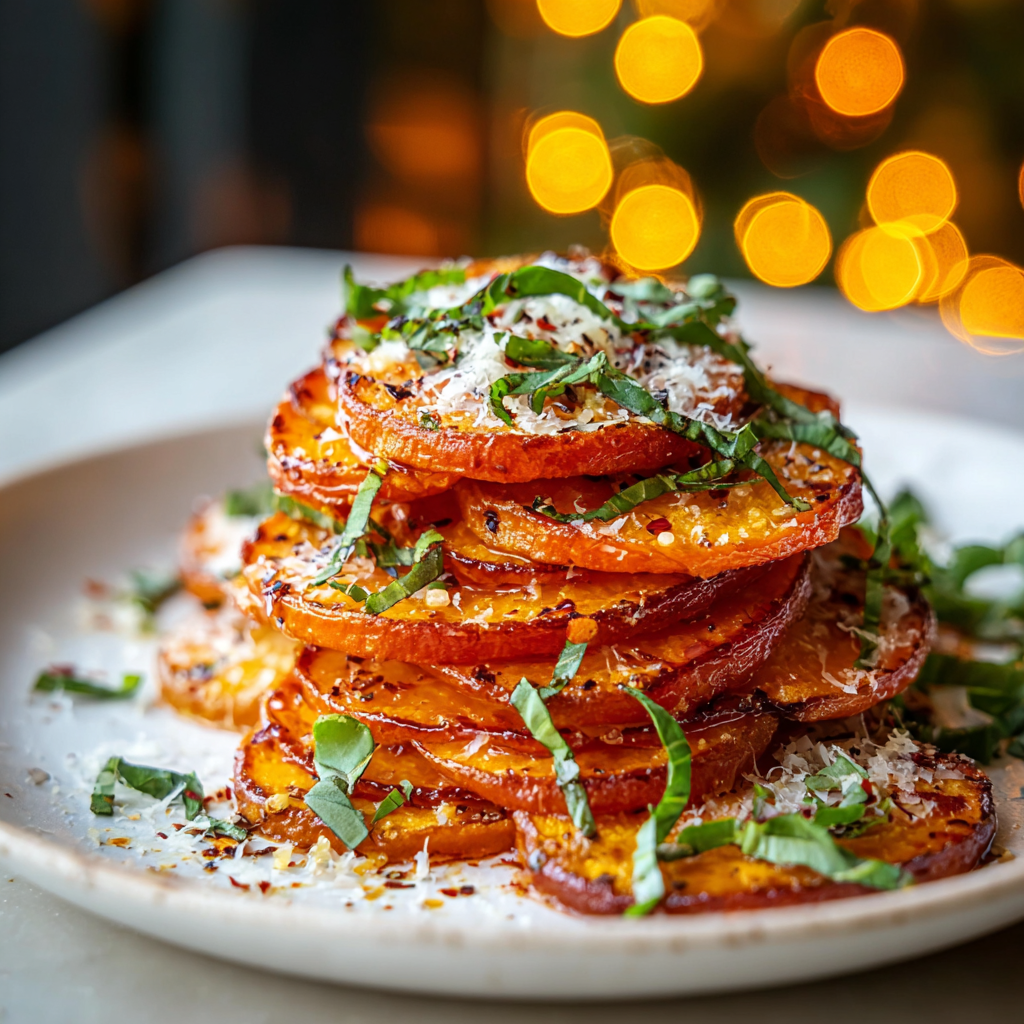
This recipe for cheesy sweet potato stacks started as a quick side on a busy weeknight and became our go-to when I wanted something both comforting and visually appealing. I discovered the stacking technique during a holiday prep when oven space was tight and I wanted each portion to be uniform and easy to plate. The sweet potatoes caramelize at the edges while remaining tender inside, and the melted cheese on top adds a savory contrast that makes everyone at the table reach for seconds. It’s the kind of dish that looks a bit special but is remarkably simple to prepare.
I remember the first time I served these to a neighbor who had been dieting — she told me this was the only side she would never skip. The texture is what sells it: a lightly crisp exterior from a high-heat roast, soft, slightly sweet interior that pairs beautifully with sharp cheddar or a mellow Monterey Jack. The recipe is flexible: swap cheeses, add spices, or finish with fresh herbs for brightness. Because each stack is just a few slices tall, they roast evenly and are easy to portion for gatherings or family dinners.
In my kitchen these have become a staple for potlucks because they travel well and hold their shape. Family members often request a double batch for company, and I love that the method prevents soggy bottoms: the thin rounds roast quickly and develop a pleasant edge crunch. Small adjustments — swapping smoked paprika for regular or adding a sprinkle of sea salt at the end — transform the final flavor in delightful ways.
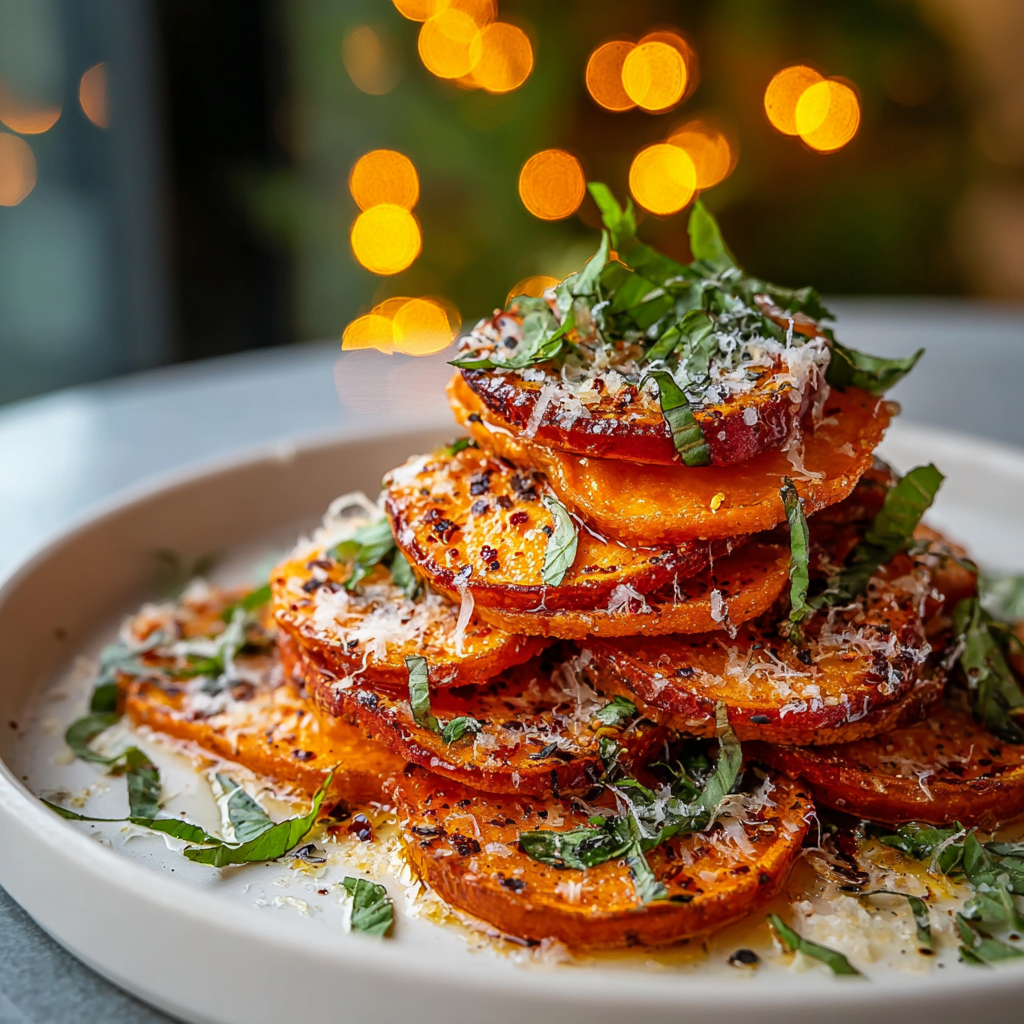
My favorite aspect is the combination of sweet and savory textures: the edges get a little crisp while the center remains pillowy. My kids love to pick their favorite stack, and guests always comment on how the simple stack technique makes the dish feel elevated. Over time I learned that thinner slices give more crisp edge per bite, while slightly thicker rounds feel more substantial — choose your preferred mouthfeel and adjust stacking accordingly.
Store leftover stacks in an airtight container in the refrigerator for up to 3 to 4 days. To preserve texture, place a paper towel beneath the stacks to absorb excess moisture. For longer storage assemble the seasoned stacks (without cheese) on parchment-lined trays and freeze until firm, then transfer to a freezer bag for up to 3 months. Reheat refrigerated portions in a preheated 350°F (175°C) oven on a baking sheet for 8 to 12 minutes to regain crispiness; frozen stacks should be thawed overnight first and then baked 10 to 15 minutes longer. Avoid microwaving if you want to keep edges crisp.
If you prefer a dairy-free option, use 1 cup plant-based shredded cheese that melts well, such as an oat-based or cashew mozzarella-style product. Swap olive oil for avocado oil for a higher smoke point and a neutral flavor. If you want less sweetness, use Japanese sweet potatoes (Satsuma-imo) or even thin slices of rutabaga for a lower-sugar alternative; adjust roasting time slightly as root density varies. For extra savoriness, fold in 1/4 teaspoon onion powder or a pinch of dried thyme to the seasoning mix.
Serve stacks as a side to roasted chicken, pork chops, or a leafy green salad. For brunch, top with a soft-poached egg and a drizzle of harissa or pesto to turn this into a hearty centerpiece. Garnish with chopped chives or parsley and a squeeze of lemon if you want brightness. For a festive presentation place stacks on a platter lined with arugula and sprinkle with toasted pepitas for crunch. These also pair nicely with creamy aioli or a tangy yogurt dip when serving as an appetizer.

Sweet potatoes have a long history across many cuisines, prized for their natural sweetness and versatility. In American cooking they frequently appear in both savory and sweet contexts — from holiday casseroles to fries and purees. The stacking technique echoes layered preparations found in other traditions, such as gratins or tian, where thinly sliced vegetables are arranged and roasted to concentrate flavors. The combination of root vegetables with melted cheese is a comforting fusion of rustic, home-cooked traditions and modern plating that makes simple ingredients feel celebratory.
In fall and winter highlight warming spices: swap paprika for smoked paprika and add 1/4 teaspoon ground cinnamon or ground cumin for depth. In spring and summer keep it lighter by topping with lemony herb yogurt and using fresh basil or mint for garnish. For holiday meals add a sprinkle of toasted pecans or chopped rosemary before serving. The technique adapts well to seasonal produce — try thinly sliced beets or a root vegetable medley using parsnip and sweet potato for a colorful variation.
Readers often tell me they made these for Thanksgiving as a lighter alternative to heavy sides and were surprised by how many asked for the recipe. One friend replaced the cheddar with a sharp Gruyere and called it a showstopper. Another family used slices of leftover roasted turkey on top of each stack for a quick weeknight plate. These anecdotes underscore how small tweaks — a different cheese, a herb finish, or an added protein — can reshape the dish to suit many occasions.
To save time, slice the sweet potatoes and toss them with oil and seasonings the night before; store covered in the refrigerator and assemble just before baking. You can also pre-portion the stacks on parchment-lined trays and freeze until firm, then slide into freezer bags for later. When reheating multiple stacks, arrange them in a single layer on a rimmed baking sheet to ensure even reheating; avoid stacking on the tray. Label frozen portions with date and bake time to keep things organized.
Make these stacks your own: play with cheeses, try different herbs, or add a crunchy topping. The simplicity of the method makes it easy to adapt and to enjoy in many different meals. Happy cooking — I hope these become a favorite at your table, too.
Slice sweet potatoes uniformly (1/4-inch) so stacks cook evenly; use a mandoline for consistency.
Toss slices in oil and seasonings so they brown rather than steam; excess oil is unnecessary.
Assemble stacks with 3-4 slices each to ensure stability and consistent roasting.
For a crisper top, finish under the broiler for 30-60 seconds while watching closely.
Make ahead by seasoning and stacking on a tray, cover and refrigerate for up to 6 hours before baking.
This nourishing cheesy sweet potato stacks recipe is sure to be a staple in your kitchen. Enjoy every moist, high protein slice — it is perfect for breakfast or as a wholesome snack any time.
Yes — assemble seasoned stacks without cheese, freeze on a tray until solid, then store in a freezer bag for up to 3 months. Thaw overnight before baking and add a few extra minutes to the bake time.
Use a mandoline on the 1/4-inch setting for uniform slices, or steady your chef's knife and cut slowly for even rounds. Uniform thickness prevents overcooking some slices while undercooking others.
Bake at 400°F (200°C) for 25-30 minutes, then add cheese and bake another 5-7 minutes. Watch closely if broiling to brown the cheese: 30-60 seconds is usually enough.
This Cheesy Sweet Potato Stacks recipe makes perfectly juicy, tender, and flavorful steak every time! Serve with potatoes and a side salad for an unforgettable dinner in under 30 minutes.
Preheat the oven to 400°F (200°C) and place a rack near the center. Allow at least 10 minutes for the oven to reach full temperature for consistent roasting.
Peel if desired and slice into even 1/4-inch rounds using a mandoline or a steady chef's knife. Uniform thickness ensures even doneness and consistent texture.
In a large bowl toss the slices with 2 tablespoons olive oil, 1 teaspoon garlic powder, 1 teaspoon paprika, and salt and pepper to coat each piece evenly for better caramelization.
Line a baking sheet with parchment and build stacks of 3-4 rounds, spacing about 1/2 inch apart. Avoid stacking too tall so they cook evenly and remain stable.
Bake at 400°F (200°C) for 25-30 minutes until centers are tender and edges are lightly golden. Test doneness with a small knife inserted into the center of a stack.
Remove from oven, sprinkle about 1 tablespoon shredded cheese on each stack (total 1 cup), then return to oven for 5-7 minutes until cheese melts and becomes bubbly; broil briefly for extra browning if desired.
Let stacks cool for 3-5 minutes to allow the cheese to set slightly, then garnish with chopped parsley or chives and serve warm.
Last Step: Please leave a rating and comment letting us know how you liked this recipe! This helps our business to thrive and continue providing free, high-quality recipes for you.
Leave a comment & rating below or tag
@aiolirecipe on social media!

A cozy, colorful salad that celebrates autumn flavors — roasted butternut squash and Brussels sprouts tossed with pasta, cranberries, pecans, and tangy feta, finished with a balsamic vinaigrette.

Bright, tangy cilantro-lime marinated flank steak served over rice with black beans, corn, fresh veggies and creamy avocado for a fast, healthy weeknight bowl.

Buttery crescent rolls filled with a sweet pecan pie–inspired filling — a quick, crowd-pleasing dessert perfect for holidays or weeknight cravings.
Leave a comment & rating below or tag @aiolirecipe on social media!
Enjoyed this recipe? Share it with friends and family, and don't forget to leave a review!
This recipe looks amazing! Can't wait to try it.
Comments are stored locally in your browser. Server comments are displayed alongside your local comments.
Join to receive our email series which contains a round-up of some of our quick and easy family favorite recipes.
