
>>

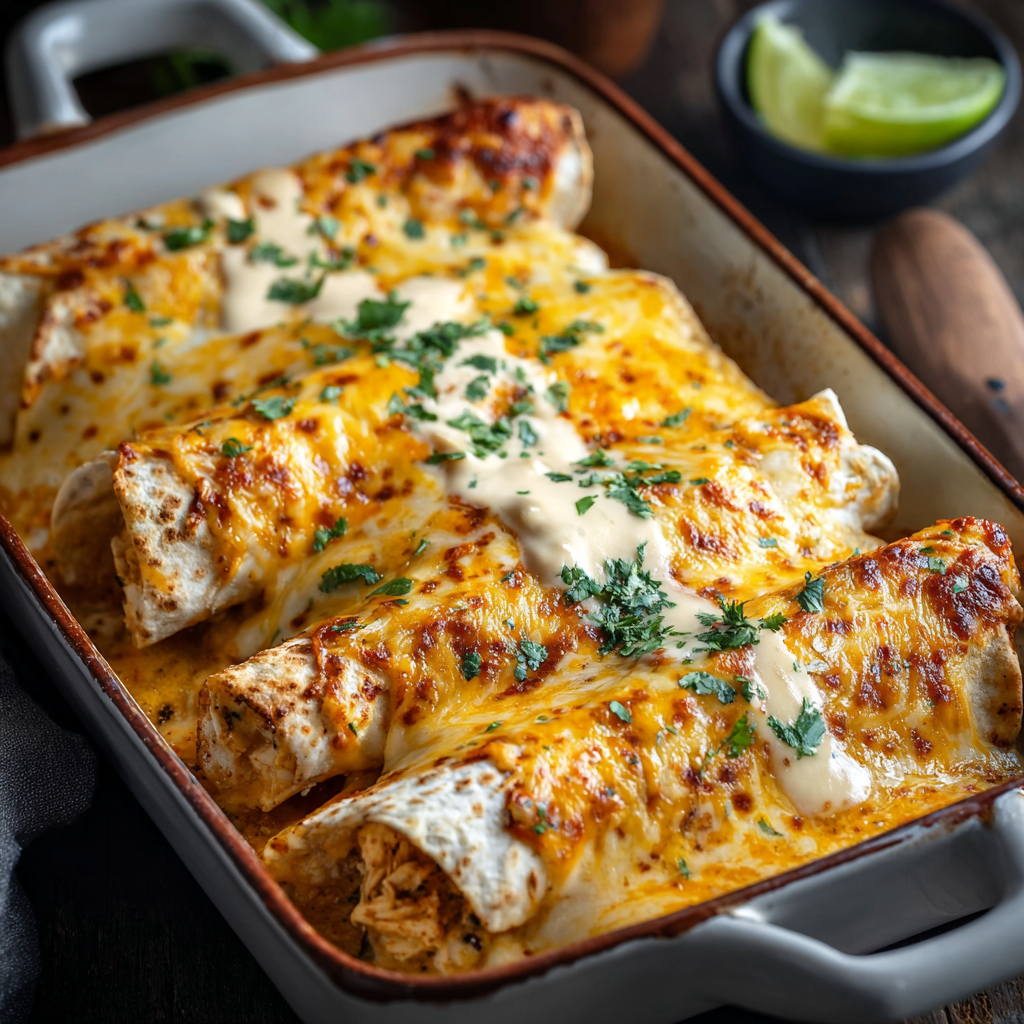
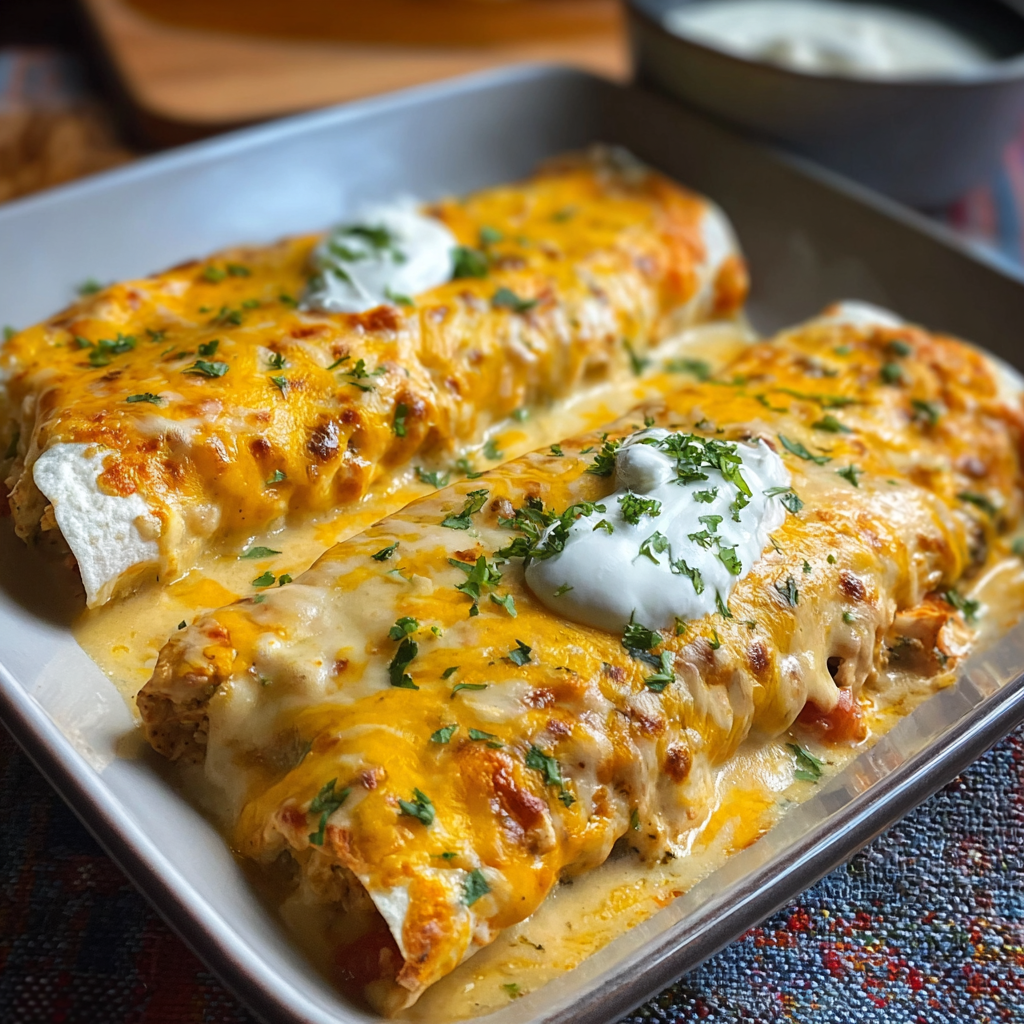
Silky, cheesy rolled tortillas filled with shredded chicken and a creamy chile-sour cream sauce, finished with a golden melt and optional enchilada sauce for color and flavor.
This creamy, cheesy chicken enchilada formula has been on our weeknight rotation for years because it hits the comfort-food sweet spot while staying fast enough to make after work. I first arrived at this balance one rainy evening when a rotisserie chicken and a can of cream of chicken soup saved dinner. The result was unexpectedly luxurious: tender shredded chicken wrapped in soft warmed tortillas, a velvety sour-cream and soup emulsion that clings to the filling, and two melting cheeses that brown at the edges. It is the kind of dish that invites seconds and makes leftovers sing.
I discovered how forgiving this combination is the first time I made it for a potluck. People kept asking for the recipe because the texture is silky and the flavors are familiar yet elevated by the fresh garnishes you add after baking. The contrast between the slightly crisped cheese edges and the creamy interior is what keeps me returning to this method. It is also a great base to customize for heat, brightness, or added vegetables, making it ideal for families and casual dinner gatherings.
I remember when my sister brought this to a family brunch and everyone arrived hungry; the pan disappeared so fast I barely got a corner piece. Over time I refined the sauce ratio so it stays creamy after baking instead of separating, and that little trick makes all the difference when serving company. It is comforting, forgiving, and endlessly adaptable.
My favorite aspect is how adaptable the creamy base is. I have served this at casual family dinners, midweek lunches, and even on game day. The casserole format makes scaling simple because you can double the pan, cover, and bake later. Guests tend to comment on the silky interior and the nostalgic cheese pull, which always makes me smile. This formula also tolerated a last-minute addition of roasted poblano slices once, which added a smoky note that my brother still asks for sometimes.
For short term storage, cover the cooled pan with plastic wrap or transfer portions to airtight containers and refrigerate for up to four days. To freeze unbaked, assemble in a freezer-safe dish, cover tightly with foil and plastic wrap, and freeze for up to three months. When ready to bake, thaw overnight in the refrigerator and bake as directed, adding an extra 5 to 10 minutes if still chilled. For already-baked leftovers, reheat individual portions in a 350 degrees Fahrenheit oven for 10 to 15 minutes, or microwave briefly but expect a softer cheese texture.
To make the dish gluten-free, substitute corn tortillas for flour; warm them gently and roll carefully because they are less flexible. For a lighter version, swap half the sour cream for plain Greek yogurt; the texture becomes tangier but still creamy. If you prefer a smokier profile, replace green chiles with roasted, diced poblano peppers. For a dairy-free adaptation, use dairy-free sour cream and plant-based melting cheeses, although the final melt and browning will differ.
Serve with bright accents such as chopped cilantro, thinly sliced green onions, and lime wedges to cut through the richness. A simple cabbage slaw dressed with lime and a touch of honey adds crunch and acidity. For sides, cilantro-lime rice, a warm black bean salad, or a crisp green salad pair beautifully. To present for a potluck, garnish the pan just before serving so the fresh herbs remain vibrant.

Enchiladas trace back to Mesoamerican cuisine where corn tortillas were wrapped around fillings and bathed in sauces. The version presented here is a Mexican-American adaptation that emphasizes convenience and creaminess, combining canned soups and melting cheeses that became popular mid-20th century in home cooking. The use of green chiles and enchilada sauce maintains a connection to traditional flavors while adapting to a family-friendly format that travels well to potlucks and holiday tables.
In summer, lighten the dish by adding fresh roasted tomatoes and corn, and finish with a squeeze of lime and chopped basil for freshness. In autumn, fold in roasted squash and swap green chiles for chipotle in adobo for smoke and depth. For winter gatherings, serve alongside a warm corn pudding and roasted winter vegetables. Small adjustments in produce and chiles make the base suitable year-round.
To prepare ahead, assemble the enchiladas in the baking dish, cover tightly, and refrigerate for up to 24 hours before baking; this improves flavors as they meld. For freezer-ready portions, assemble and freeze then bake from partially thawed for best texture. Portion into single-serve containers for grab-and-go lunches and reheat in the oven or microwave. Use a thermometer to ensure internal temperature reaches at least 165 degrees Fahrenheit when reheating for food safety.
These enchiladas balance ease and comfort in a way that always makes them feel like a small celebration. They are forgiving, adaptable, and rewarding to serve. Try them once and you will find your own small tweaks to make them uniquely yours.
Warm tortillas in a damp towel for 20 to 30 seconds to prevent cracking while rolling.
Grate cheese from a block for better melt and flavor compared to pre-shredded varieties.
Allow the baked pan to rest 5 to 10 minutes before cutting so the sauce sets and servings hold their shape.
Use rotisserie chicken to save time and add savory depth without extra seasoning effort.
This nourishing cheesy chicken enchiladas (creamy) recipe is sure to be a staple in your kitchen. Enjoy every moist, high protein slice — it is perfect for breakfast or as a wholesome snack any time.
Yes. Assemble, cover tightly, and refrigerate up to 24 hours before baking. If frozen, thaw overnight before baking.
Use corn tortillas for a gluten-free version and choose reduced-sodium soup and cheese for lower sodium.
This Cheesy Chicken Enchiladas (Creamy) recipe makes perfectly juicy, tender, and flavorful steak every time! Serve with potatoes and a side salad for an unforgettable dinner in under 30 minutes.
Preheat the oven to 350 degrees Fahrenheit and lightly grease a 9 by 13 inch baking dish. Warming the dish briefly is optional to prevent sticking.
Whisk together sour cream, cream of chicken soup, and undrained diced green chiles until smooth. Stir in shredded chicken and half the cheeses, then season lightly with salt and pepper.
Spread a thin layer of the sauce in the baking dish. Warm tortillas until pliable and place one third to one half cup of filling down the center of each. Roll tightly and lay seam-side down in the dish.
Pour remaining creamy sauce evenly over the rolls, spoon enchilada sauce if using, sprinkle remaining cheese and bake 20 to 30 minutes until bubbling and cheese is lightly browned.
Let the pan rest 5 to 10 minutes so the sauce settles. Garnish with cilantro, green onions, or sour cream and serve with lime wedges and sides.
Last Step: Please leave a rating and comment letting us know how you liked this recipe! This helps our business to thrive and continue providing free, high-quality recipes for you.
Leave a comment & rating below or tag
@aiolirecipe on social media!

A cozy, colorful salad that celebrates autumn flavors — roasted butternut squash and Brussels sprouts tossed with pasta, cranberries, pecans, and tangy feta, finished with a balsamic vinaigrette.

Bright, tangy cilantro-lime marinated flank steak served over rice with black beans, corn, fresh veggies and creamy avocado for a fast, healthy weeknight bowl.

Buttery crescent rolls filled with a sweet pecan pie–inspired filling — a quick, crowd-pleasing dessert perfect for holidays or weeknight cravings.
Leave a comment & rating below or tag @aiolirecipe on social media!
Enjoyed this recipe? Share it with friends and family, and don't forget to leave a review!
This recipe looks amazing! Can't wait to try it.
Comments are stored locally in your browser. Server comments are displayed alongside your local comments.
Join to receive our email series which contains a round-up of some of our quick and easy family favorite recipes.
