
Candy Cane Cookies

Buttery peppermint-traced cookies shaped like classic candy canes — crisp at the edges, tender in the center, and perfect for holiday gift tins.
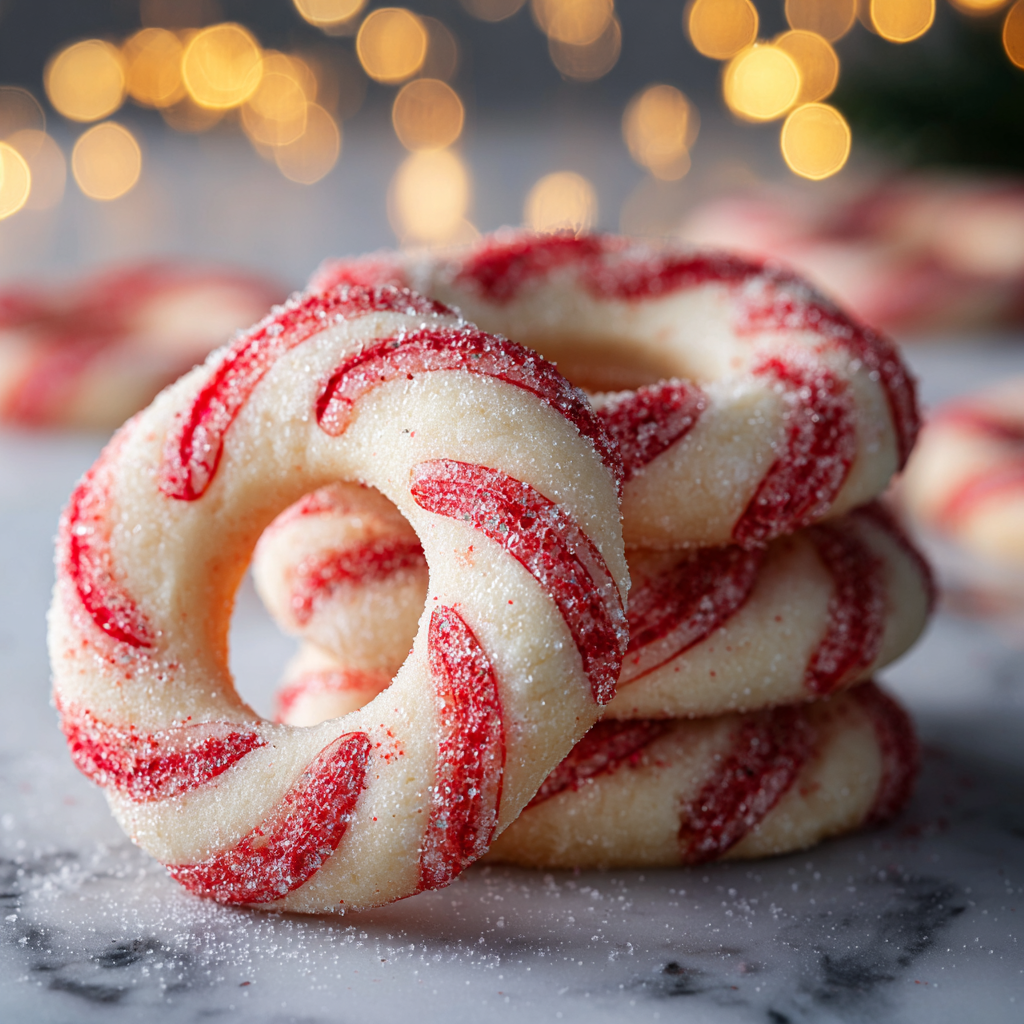
This recipe for Candy Cane Cookies has been a holiday staple in my kitchen for years. I first developed the technique on a rainy December afternoon while trying to recreate the nostalgic striped candy cane look with a tender, buttery dough that wouldn’t spread into shapeless disks. The result is a cookie with a delicate, shortbread-like crumb, a clean peppermint lift, and a bright red swirl that holds its color during baking. These cookies freeze beautifully, travel well in tins, and always spark a little gasp when they come out of the oven.
I remember making the first batch with my neighbor’s kids crowded at the counter, each determined to twist the stripes just right. The trick is a light hand when rolling and matching rope thickness so the twist is neat. The peppermint is assertive but not overpowering — a single half-teaspoon of peppermint extract gives a fresh, candy-like finish that pairs beautifully with real vanilla. If you enjoy holiday baking with a bit of whimsy and a dependable texture, this version will quickly become one you return to every season.
Why You'll Love This Recipe
- Classic candy-cane appearance achieved with an easy two-color dough method that stays neat in the oven and requires no piping.
- Ready in about 35 to 40 minutes from start to finish, including a short chill while you color the dough, so it’s great for last-minute baking sessions.
- Uses pantry staples: unsalted butter, powdered sugar, all-purpose flour, one egg, and common extracts — no special ingredients required.
- Make-ahead friendly: dough can be wrapped and refrigerated for up to 48 hours or frozen for longer storage, which helps when preparing holiday trays.
- Crowd-pleasing texture with slightly crisp edges and a tender center that isn’t too sweet thanks to the powdered sugar balancing the peppermint.
- Perfect for gifting or cookie swaps — they stack well in tins and hold their shape during transport.
I’ve given these to teachers, neighbors, and my own family for years; the red-and-white spiral still draws compliments. My partner always steals a few before I’ve finished plating, and the kids love shaping each cane. The combination of ease, visual charm, and dependable flavor is why they’ve stayed on my holiday rotation.
Ingredients
- Unsalted butter (1 cup): Use high-quality, real butter such as Land O Lakes or Kerrygold for the best flavor and texture; softened to room temperature but not oily helps the dough cream properly.
- Powdered sugar (1 cup): Also called confectioners’ sugar; it dissolves into the butter for a silky crumb. Sift if it’s clumpy from storage.
- Large egg (1): At room temperature so it emulsifies easily and gives a smooth dough that binds the flour without toughening the cookies.
- Vanilla extract (1 tsp): A good-quality pure vanilla complements the peppermint; Nielsen-Massey or store-brand pure vanilla both work well.
- Peppermint extract (1/2 tsp): Use a concentrated peppermint extract rather than oil for a clean flavor; add sparingly to avoid medicinal notes.
- All-purpose flour (2 1/2 cups): King Arthur or Pillsbury all-purpose gives consistent results; spoon and level for accurate measurement.
- Salt (1/2 tsp): Balances the sweetness; use fine table salt or sea salt for even distribution.
- Red gel food coloring: A few drops of gel coloring like AmeriColor or Wilton to achieve the candy-cane red without thinning the dough.
Instructions
Preheat and prepare pans: Preheat the oven to 375°F (190°C). Line two baking sheets with parchment paper or silicone mats to ensure even baking and easy removal. If you’re preparing multiple batches, keep one sheet in the oven while arranging the next tray so the oven temperature remains stable. Cream butter and sugar: In a large bowl, beat the softened butter and powdered sugar on medium-high speed for 3 to 4 minutes with a hand or stand mixer fitted with a paddle attachment. Scrape down the sides once or twice to achieve a pale, fluffy mixture; this aeration helps the cookies remain tender while holding their shape. Add egg and extracts: Beat in the room-temperature egg, then add the vanilla and peppermint extracts. Mix on low speed until smooth and fully incorporated. The batter should be glossy and slightly loose before adding flour. Mix dry ingredients: Whisk the flour and salt together in a separate bowl. Gradually add the dry mixture to the wet ingredients on low speed, mixing just until a soft, non-sticky dough forms. Avoid overmixing — stop when no streaks of flour remain to keep the cookies tender rather than dense. Divide and color: Divide the dough into two equal portions. Add a small amount of red gel food coloring to one half and knead with a spatula or lightly with your hands until the color is even. Add coloring sparingly — a little goes a long way — and wear gloves if you want to avoid red-stained fingers. Shape canes: Pinch off 1 teaspoon portions from each color. Roll each portion into a 4-inch rope, keeping the ropes consistent in thickness. Place a red rope and a white rope side by side, press them lightly, then twist. Bend the top to form a cane hook and place on prepared sheets about 1 inch apart; the cookies spread very little. Bake and cool: Bake for 8 to 10 minutes, rotating the sheet halfway through if your oven is uneven. Watch for lightly golden bottoms — the tops should remain pale. Cool on the pan for 5 minutes to firm up, then transfer to a wire rack to cool completely so the canes keep their shape and color contrast.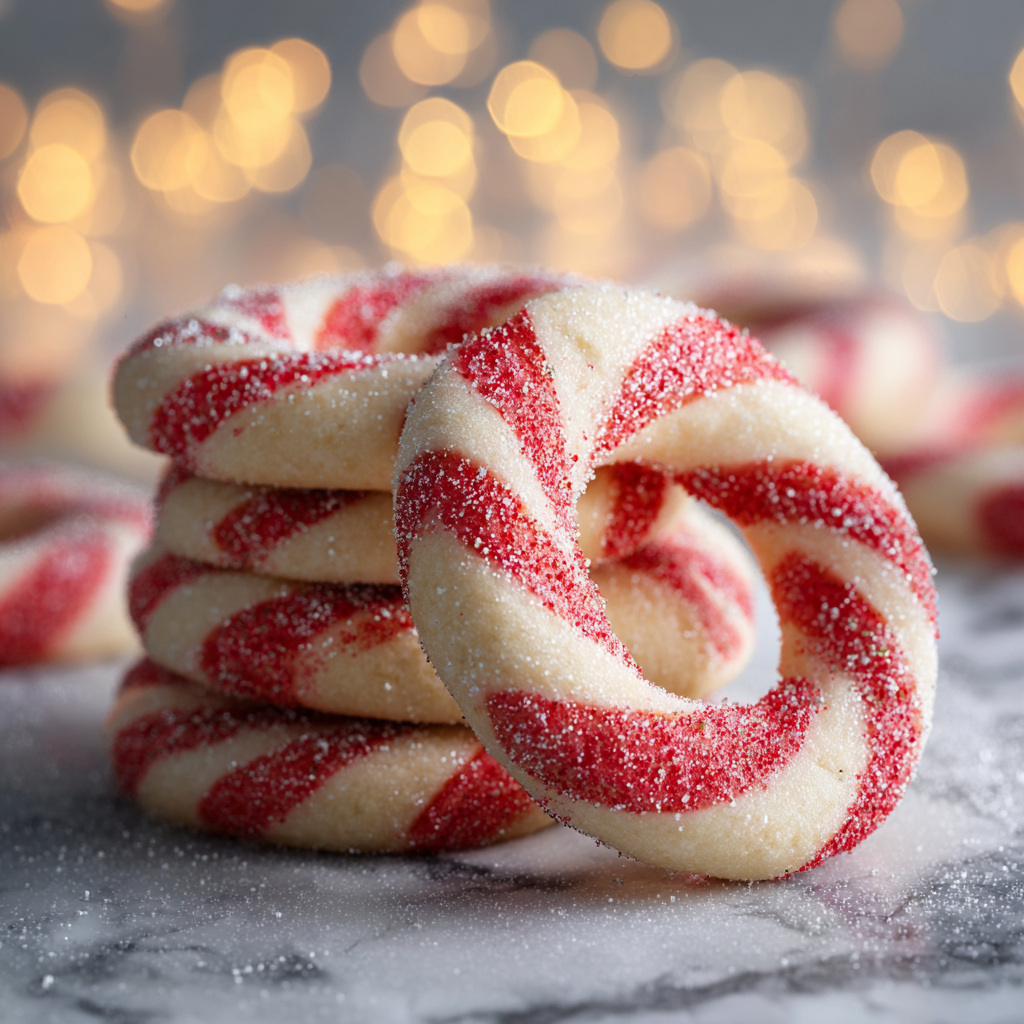
You Must Know
- These cookies keep for up to 5 days at room temperature in an airtight container and freeze well for up to 3 months when wrapped tightly.
- They are high in butter, so expect a rich flavor and tender crumb; one cookie provides a sweet, buttery snack rather than a low-calorie option.
- Use gel coloring rather than liquid to avoid altering dough consistency and to get a brighter red that doesn’t bleed too much while baking.
- If peppermint is too strong for guests, reduce peppermint extract to 1/4 teaspoon and boost vanilla to preserve aromatic balance.
- Cookies are best shaped with consistent rope thickness; unequal ropes will yield uneven stripes and possible breakage at the cane hook.
My favorite part is how they look when plated on a simple white tray — the contrast is festive and instantly elevates your holiday table. Friends often ask for the method rather than the recipe because the shaping looks tricky but is fast once you get the rhythm of rolling and twisting. Baking them with family creates small moments of pride when each person finishes a perfect cane.

Storage Tips
Store cooled cookies in an airtight container layered between sheets of parchment paper at room temperature for up to five days to maintain crisp edges and tender centers. For longer storage, flash-freeze trays of unbaked ropes or baked cookies on a sheet pan, then transfer to resealable freezer bags for up to three months. To thaw, leave frozen cookies at room temperature for 20 to 30 minutes; for best texture, warm in a 300°F (150°C) oven for 3 to 5 minutes to revive a just-baked mouthfeel. Avoid refrigeration — it can make cookies dry.
Ingredient Substitutions
If you need a dairy-free version, substitute a vegan stick-style butter at a 1:1 ratio; results are similar though the flavor will lean slightly less buttery. For gluten-free, use a 1:1 all-purpose gluten-free flour blend that contains xanthan gum; texture can be a touch more crumbly, so chill the dough longer before shaping. Skip the peppermint extract for a vanilla-only version, or swap in 1/2 teaspoon almond extract for a different festive aroma. Keep in mind swaps change the final texture and baking time by a minute or two.
Serving Suggestions
Serve on a platter with hot cocoa, spiced apple cider, or alongside shortbread and chocolate-dipped cookies for an elegant holiday tray. These can be strung on ribbon through the cane hook for edible ornaments or packaged in clear cellophane with a festive tag for gifting. Garnish trays with crushed candy canes or sprigs of rosemary for visual contrast. They also pair beautifully with peppermint bark or dark chocolate truffles at a cookie exchange.
Cultural Background
Striped, peppermint-flavored confections have long been associated with winter holidays in Western cultures; the candy cane became a symbol of festive celebration in the 19th century. Translating that look into baked goods blends European shortbread traditions with American holiday novelty. These cookies are a modern interpretation inspired by both confectionery candy canes and classic holiday butter cookies, marrying visual nostalgia with a scratch-made texture.
Seasonal Adaptations
For a spring twist, swap peppermint for 1/2 teaspoon lemon extract and color one rope pale yellow. For Halloween, use black gel coloring paired with orange for a striped effect. During summer parties, turn the dough into small twisted sticks and brush lightly with a lemon glaze. Adjust extracts and colors to suit holidays, but keep the dough technique the same for reliable shaping.
Meal Prep Tips
Prepare the dough up to two days in advance and keep it chilled; this improves flavor melding and firmness for cleaner shaping. If prepping for a cookie swap, roll and shape all canes, freeze on trays until solid, then bag and move to a larger freezer container — bake from frozen, adding 1 to 2 minutes to the bake time. Label packages with baking dates and thaw instructions to make assembly day stress-free.
These Candy Cane Cookies are an approachable way to add charm to holiday gatherings. With a little practice rolling the ropes evenly, you’ll find the method forgiving and quick. Share them with friends, tuck them into gift boxes, or keep a tin on the counter for unexpected visitors.
Pro Tips
Measure flour by spooning into the cup and leveling to avoid a dry, crumbly dough.
Wear disposable gloves when coloring dough to prevent staining your hands.
Chill colored dough briefly if it becomes too soft while shaping to make rolling easier.
Use a small offset spatula to transfer delicate canes from the tray without distorting the hook.
This nourishing candy cane cookies recipe is sure to be a staple in your kitchen. Enjoy every moist, high protein slice — it is perfect for breakfast or as a wholesome snack any time.
FAQs about Recipes
Can I freeze finished cookies?
Yes. The shaped cookies can be frozen after baking for up to three months when stored in an airtight container. Thaw at room temperature before serving.
How do I keep the red color from running?
For brighter red without bleeding, use gel food coloring and add it sparingly. Refrigerating the colored dough briefly helps maintain shape while rolling.
Tags
Candy Cane Cookies
This Candy Cane Cookies recipe makes perfectly juicy, tender, and flavorful steak every time! Serve with potatoes and a side salad for an unforgettable dinner in under 30 minutes.
Ingredients
Dough
Instructions
Preheat and prepare pans
Preheat oven to 375°F (190°C). Line baking sheets with parchment paper or silicone mats for even baking and easy removal. Keep prepped sheets within reach while you shape cookies.
Cream butter and sugar
Beat softened butter and powdered sugar for 3 to 4 minutes until pale and fluffy, scraping the bowl once for even aeration. This creates a light texture and helps the shapes keep their form.
Add egg and extracts
Beat in the room-temperature egg, vanilla, and peppermint extract until smooth and fully incorporated, forming a glossy base before adding dry ingredients.
Mix dry ingredients
Whisk flour and salt together, then add gradually to the wet ingredients on low speed. Mix until a soft, non-sticky dough forms; avoid overmixing to maintain tenderness.
Divide and color
Split dough in half. Add a small amount of red gel coloring to one half and knead until evenly colored. Adjust color sparingly and chill briefly if dough becomes too soft.
Shape canes
Roll 1 teaspoon portions of each color into 4-inch ropes. Place ropes side by side, press lightly, twist, and bend the top into a cane shape. Arrange on prepared sheets about 1 inch apart.
Bake and cool
Bake 8 to 10 minutes until bottoms are lightly golden. Cool on the pan for 5 minutes, then transfer to a wire rack to cool completely so the canes keep their shape and crisp edge.
Last Step: Please leave a rating and comment letting us know how you liked this recipe! This helps our business to thrive and continue providing free, high-quality recipes for you.
Nutrition
Did You Make This?
Leave a comment & rating below or tag
@aiolirecipe on social media!
Categories:
You might also like...

Fall Harvest Pasta Salad
A cozy, colorful salad that celebrates autumn flavors — roasted butternut squash and Brussels sprouts tossed with pasta, cranberries, pecans, and tangy feta, finished with a balsamic vinaigrette.

Cilantro Lime Steak Bowls
Bright, tangy cilantro-lime marinated flank steak served over rice with black beans, corn, fresh veggies and creamy avocado for a fast, healthy weeknight bowl.

Pecan Pie Crescent Rolls
Buttery crescent rolls filled with a sweet pecan pie–inspired filling — a quick, crowd-pleasing dessert perfect for holidays or weeknight cravings.
Did You Make This?
Leave a comment & rating below or tag @aiolirecipe on social media!
Rate This Recipe
Share This Recipe
Enjoyed this recipe? Share it with friends and family, and don't forget to leave a review!
Comments (1)
This recipe looks amazing! Can't wait to try it.
Comments are stored locally in your browser. Server comments are displayed alongside your local comments.
Hi, I'm Olivia!
What's Popular

30-Minute Meals!
Join to receive our email series which contains a round-up of some of our quick and easy family favorite recipes.